 Sudden Valley
 Sunnyland sits close enough to the water and to Lake Whatcom's damp microclimate that window installation on a new build has to account for moisture from day one, not as an afterthought once siding goes up. When a home is framed and ready for windows, the choices made in that window — flashing sequence, glazing spec, rough opening prep — set the tone for how the building envelope performs for the next 30-plus years. Get it right during new construction and windows stay trouble-free for decades. Get it wrong and you're chasing rot, fogged glass, or drafts within a handful of winters.
We install new-construction windows for builders and owner-projects in and around Sunnyland, and we approach each one the same way: as part of the water management system for the whole house, not a standalone product swap. This page covers what that actually means for a Sunnyland build.
Why Sunnyland's Climate Changes the Window Job
Sunnyland's exposure is a mix most homeowners underestimate until they've lived through a few winters here. You're getting salt-laden air moving off the water, long stretches of driving rain pushed by wind rather than falling straight down, and a moss season that runs from fall through spring where anything shaded and damp stays damp. None of that is unique to Sunnyland on its own — but the combination is what makes Whatcom County window work different from installing the same product in a dry inland climate.
Salt Air and Hardware
Salt-tinged air accelerates corrosion on window hardware, fasteners, and unprotected metal flashing faster than people expect this far from the open coast. On a new build, that means choosing corrosion-resistant fasteners and flashing metals at the framing stage, not swapping them out later when a hinge starts seizing or a nail head starts bleeding rust through the finish.
Driving Rain and Wind-Driven Water
Straight-down rain is easy to shed. Wind-driven rain — which is what you get on exposed elevations around Sudden Valley and Sunnyland during a fall or winter storm — pushes water sideways and upward into gaps that a lazier installation would never test. New-construction framing gives us the chance to build a window opening that handles wind-driven rain by design: proper sill pans, correctly lapped flashing, and sealant placed where it actually does something instead of just where it looks tidy.
Moss Season and Sustained Dampness
Long moss season means long stretches where north- and east-facing walls, and anything under tree cover, simply don't dry out. Wood trim and sill components that sit wet for weeks at a time need either a moisture-tolerant material choice or a detail that keeps standing water off them entirely. That's a design decision made once, during the new-construction install — not something you can retrofit cheaply later.
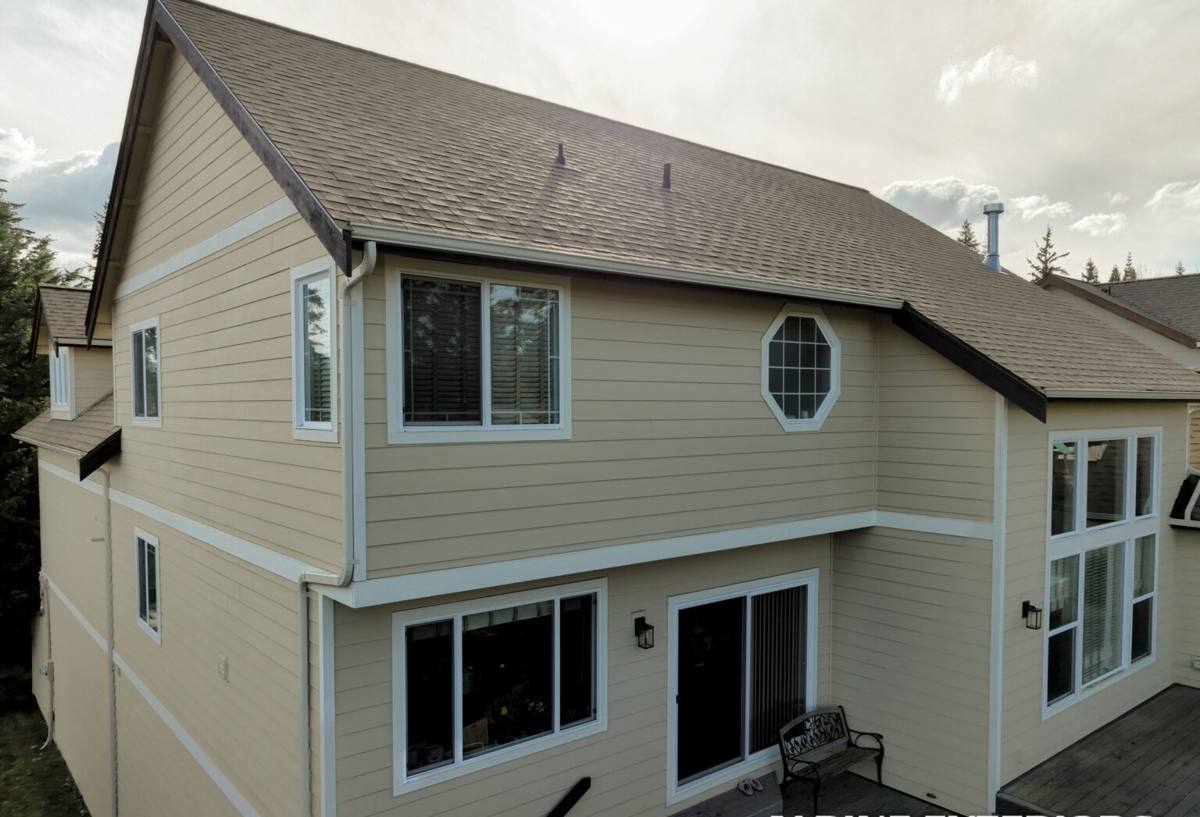
What a Correct New-Construction Window Install Involves
"New construction" windows are a different category from replacement windows — they have a nailing flange and are installed before siding and exterior trim go on, which means the installer has full access to the wall assembly. That access is the whole advantage, and it's wasted if the crew doesn't use it properly.
- Rough opening check: confirm the opening is square, level, and sized correctly before the window ever gets set — shimming a poorly framed opening after the fact causes long-term stress on the frame and seals.
- Sill pan flashing: a sloped, sealed pan under the window that directs any water intrusion back outside rather than into the wall cavity. This is the single most important detail on a new-construction install and the one most often skipped or done poorly.
- Water-resistive barrier integration: the house wrap or weather barrier has to be cut, lapped, and taped in the correct shingle-style sequence — flange integrated under the barrier at the top, over it at the sides and bottom — so water always drains down and out, never behind the barrier.
- Flashing tape and sealant: compatible flashing tape at the flange, with sealant used only where it belongs (never as a substitute for proper flashing sequence).
- Fastening per manufacturer spec: correct fastener type, spacing, and placement in the nailing flange — over-fastening or under-fastening both cause problems, from frame distortion to flange failure.
- Insulation and air-sealing at the gap: the small gap between the window frame and rough opening gets air-sealed and insulated (typically low-expansion foam or backer rod, never packed rigid foam that can bow the frame).
- Interior and exterior trim prep: opening left ready for trim and siding to lap correctly over the flange, maintaining the drainage path all the way through the finished wall.
Glazing and Frame Choices That Make Sense Here
There's no single "best" window for Whatcom County, but there are choices that hold up better against salt air, sustained moisture, and temperature swings between a cold clear night and a mild wet day.
| Factor | What to look for in a Sunnyland new build |
|---|---|
| Frame material | Vinyl and fiberglass resist corrosion and don't need refinishing; wood-clad frames look great but need the cladding and flashing details done right to keep moisture off the wood core |
| Hardware finish | Corrosion-resistant coatings on hinges, locks, and cranks — cheap plated hardware is the first thing to fail in salt-tinged air |
| Glazing package | Double-pane, low-E glass is the baseline; a warm-edge spacer reduces condensation risk on cold, damp mornings, which are common here |
| Weep system | Clear, unobstructed weep holes so any water that gets into the frame track drains back out instead of sitting and feeding rot or mold |
| Sill design | A sloped sill sheds water fast rather than pooling it — pooling is what invites moss and algae growth during the wet months |
Our Process for a Sunnyland New-Construction Job
Whether we're working alongside a builder's framing schedule or coordinating directly with a homeowner managing their own project, the sequence is consistent.
- Site visit and opening review: we check rough openings against the window schedule before install day, catching framing issues while they're still cheap to fix.
- Material staging: windows, flashing tape, sill pan material, and fasteners confirmed and on site before we start, so the crew isn't improvising mid-install.
- Install in sequence: sill pan first, window set and shimmed square and plumb, flange integrated into the water-resistive barrier in the correct shingle-lap order, fastened to spec.
- Air-seal and insulate the perimeter gap: done before interior finish work covers it up.
- Photo documentation: we document flashing and sill pan details before they're covered by siding or trim, so there's a record of what's behind the finished wall.
- Final check: operation, seal, and weep function verified on every unit before we call the job done.
Why Local Experience Matters for This Job
A window flashing detail that's perfectly adequate in a dry, low-wind climate can fail here within a few seasons. Crews who mostly work inland or in milder conditions sometimes under-build the water management side of a new-construction install because they've never had to deal with sustained wind-driven rain or a moss season that keeps walls damp for months at a stretch. We work in Whatcom County full time, including jobs around Sudden Valley and the Lake Whatcom area, so the flashing sequence and material choices described above aren't theoretical — they're just how we build every opening, because this is the climate we build in every week.
That local pattern recognition also matters when something looks slightly off — a framing detail that's common in this area's older subdivisions, or a wall orientation that's going to take the brunt of the region's prevailing storm direction. A crew that's seen it before catches it before the siding goes on, not after.
Common Mistakes We See (and Avoid)
- Skipping or shortcutting the sill pan because "the sealant will handle it" — sealant alone always fails eventually; a sill pan gives water somewhere to go when it does.
- Flashing tape applied out of sequence, so water gets directed behind the barrier instead of over it.
- Over-driving fasteners, which can bow the frame slightly and cause the window to bind or leak at the corners.
- Packing the perimeter gap with rigid, high-expansion foam that pushes the frame out of square.
- Using standard-grade hardware and fasteners that aren't rated for a salt-tinged, high-humidity environment.
What This Means for Your Budget
Correct new-construction window installation doesn't have to cost dramatically more than a rushed one — most of the difference is in sequencing, attention, and using the right small-cost materials (flashing tape, sill pan stock, corrosion-resistant fasteners) rather than expensive upgrades. Where costs do vary is frame material and glazing package, and that's a conversation worth having project by project based on the home's exposure, budget, and how long you plan to own it.
If you're framing a new home or addition in Sunnyland or elsewhere around Sudden Valley and want windows installed the way this climate actually demands, we're happy to walk the site, review your window schedule, and give you a straightforward, no-pressure estimate using the form below.