 Sudden Valley
 New-Construction Windows in Acme: Getting It Right the First Time
Acme sits in the wooded, hilly stretch of Whatcom County east of Lake Whatcom, where homes are shaded by tree canopy for much of the year and see more standing moisture than open, wind-exposed lots. When you're framing a new home or doing a full exterior tear-off that exposes the rough openings, the window installation is one of the few chances you get to build the water management right into the wall before siding closes it all up. Get it wrong here, and the mistake gets buried behind trim and cladding for years, sometimes until it shows up as rot, staining, or a soft spot around a window frame.
New-construction windows are different from replacement windows in a way that matters a lot for how the job is done. A replacement window gets set into an existing, already-flashed opening with minimal disruption to the surrounding wall. A new-construction window has a nailing fin around its perimeter and is installed into a bare, unfinished rough opening — which means the contractor is responsible for the entire flashing sequence: sill pan, side flashing, weather-resistive barrier integration, and head flashing, all before a single piece of trim or siding goes on. That's a bigger job, and it's the one where sequencing and attention to detail determine whether the wall stays dry for the next thirty years or starts failing in five.
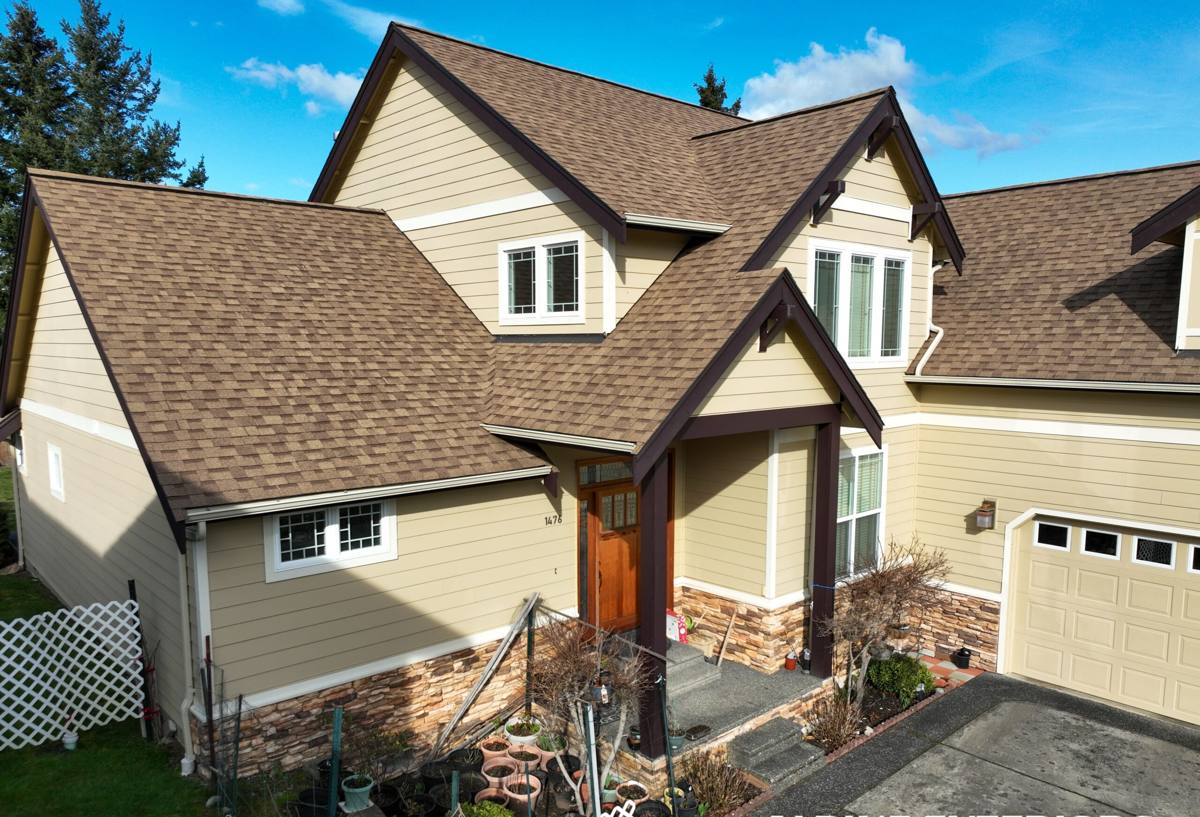
What Acme's Climate Actually Demands From a Window Install
Across Whatcom County, exterior assemblies deal with a wide range of conditions — salt-laden air near the coast, driving wind-blown rain further inland, and a moss and mildew season that can stretch from fall through spring almost anywhere there's shade and moisture. Acme's particular version of that is less about salt exposure and more about sustained dampness: forest canopy that keeps siding and trim wet longer after a storm, valley humidity that doesn't burn off quickly, and long stretches of steady rain rather than short, hard downpours.
For a window opening, that combination means a few things in practice:
- Any water that does get past the window sash or trim needs a clear, sloped path back out of the wall — not a flat sill pan that lets it pool.
- House wrap and flashing tape need to actually shed water downward in the correct shingle-lap order, since a reversed lap works fine in a light sprinkle but fails in the sustained rain Whatcom County is known for.
- Wood trim and sills exposed to prolonged shade and moisture need either a durable, moisture-tolerant material or a paint/sealant plan that accounts for slower drying times.
- Caulking and sealant choices matter more here than in a drier climate — a sealant that goes brittle or shrinks after a season of freeze-thaw and damp cycling opens a path for water intrusion that's invisible from outside.
None of this is exotic. It's standard building science. But it only works if it's actually followed on site, in the right order, every time — and that's where a lot of installs fall short.
The Anatomy of a Correct New-Construction Window Install
A new-construction window opening is built in layers, and each layer has to lap over the one below it so water is always directed outward and downward, never trapped or funneled into the wall cavity.
Sill Pan Flashing
The sill pan is the foundation of the whole assembly. It creates a sloped, waterproof tray at the bottom of the rough opening so that any water that reaches the sill — whether from wind-driven rain around the sash or condensation — drains back outside instead of soaking into the framing. A flat or improperly sealed sill pan is one of the most common causes of hidden rot we find when we open up an older wall for a repair or remodel.
Side Flashing and the Window Itself
The window is set into the pan, leveled, shimmed, and fastened through the nailing fin. Side flashing tape then goes over the fin, tying the window into the surrounding wall.
Head Flashing and the Weather-Resistive Barrier
The top of the window gets its own flashing, installed so it laps over the side flashing and, in turn, gets lapped by the house wrap or weather-resistive barrier above it. This shingle-style layering is what keeps water moving down and out no matter which direction the rain is blowing. Skipping or reversing any one of these laps can look fine on install day and still fail the first time the wall gets a real soaking — which, in Acme, happens often enough that there's no margin for shortcuts.
Window Materials and What They Mean for a New-Construction Job
The window material affects both the install and the long-term maintenance, especially in a shaded, damp environment. There's no single right answer — it depends on the home, the budget, and how much upkeep the owner wants to take on.
| Material | Upfront Cost | Moisture Tolerance | Maintenance | Notes for Acme-Area Homes |
|---|---|---|---|---|
| Vinyl | Lower | Good — won't rot, but expands/contracts with temperature swings | Low | Solid, budget-friendly choice; verify seals are rated for sustained moisture exposure |
| Fiberglass | Mid to higher | Very good — dimensionally stable, resists warping | Low | Handles humidity and temperature swings well; a strong fit for shaded, damp lots |
| Wood-clad | Higher | Depends heavily on cladding and seal quality | Higher — interior wood still needs monitoring | Attractive option, but the cladding and flashing details have to be executed precisely given how long moisture lingers here |
| Aluminum | Mid | Fair — prone to condensation without thermal breaks | Low to moderate | Less common in residential new construction locally; thermal performance is the main tradeoff |
We don't push one brand or product line as the only option. What matters more than the label on the window is whether it's installed with the correct flashing sequence and whether the material fits the home's exposure — full sun, deep shade, or somewhere in between.
Our Process, Start to Finish
- Rough opening check. We verify openings are square, plumb, and sized correctly before any window arrives on site — catching framing issues now is far cheaper than after the window is set.
- Sill pan installation. Sloped, sealed, and tested before the window goes in.
- Window set and fastening. Leveled, shimmed to manufacturer spec, and fastened through the nailing fin without over- or under-driving fasteners.
- Flashing sequence. Side flashing, then head flashing, integrated with the house wrap in the correct shingle-lap order.
- Sealant and backer rod at the interior and exterior. Sized and placed so the window can move slightly with temperature changes without breaking the seal.
- Final inspection. We check operation, sightlines, and flashing laps before trim or siding closes the opening.
That last step matters because once trim and siding go on, the flashing behind them isn't visible again unless something fails. We treat that inspection as the point where we either sign off with confidence or go back and fix it — not something to rush to keep a schedule.
Mistakes We See on New-Construction Window Jobs
Most window callbacks and rot repairs trace back to a small handful of avoidable errors. Whether you're vetting us or another contractor, this is worth checking for:
- Flat or missing sill pan flashing, leaving no path for water to escape if it gets past the sash.
- Flashing tape applied out of shingle-lap order, which can actually funnel water into the wall instead of away from it.
- House wrap cut and taped sloppily around the opening instead of integrated with the window flashing as one continuous system.
- Windows fastened without shimming, leading to binding, drafts, or seal failure over time.
- Sealant used as the primary water barrier instead of as a secondary layer over correctly lapped flashing.
- Trim installed tight against the siding with no room for the assembly to shed water at the joint.
Any one of these can look perfectly fine from the curb for years before a problem shows up — which is exactly why it's worth hiring someone who treats the flashing sequence as non-negotiable rather than optional.
Why Hiring a Crew That Already Works in Acme Matters
A crew that regularly works Whatcom County jobs — from lakefront lots near Sudden Valley to the shaded, damp properties further out toward Acme — has already seen how these houses hold up (or don't) a few years after the fact. That matters more than it sounds. It means knowing which flashing details need extra attention on a heavily shaded lot, how long materials need to cure or dry between steps during a wet stretch, and what sequencing keeps a job moving without cutting corners when the forecast doesn't cooperate.
It also means being reachable if something does come up after the job is done. New-construction window work is only as good as the flashing nobody can see once the siding's up — so the contractor's track record and willingness to stand behind that hidden work is worth more than any single feature of the window itself.
Maintenance and Long-Term Performance
A correctly installed new-construction window shouldn't need much attention, but a little seasonal awareness goes a long way in a climate like this one:
- Check exterior caulk lines annually, especially after a hard winter, for cracking or separation.
- Keep gutters and downspouts clear so roof runoff isn't dumping extra water directly onto window heads.
- Watch for moss or algae buildup on trim and sills — it holds moisture against the surface longer than bare wood or vinyl would on its own.
- If you notice soft trim, peeling paint concentrated around one window, or a musty smell near an interior sill, have it looked at before it becomes a bigger repair.
None of this replaces a correct install — good maintenance just protects the work that's already been done right.
If you're planning new construction or a major remodel in Acme and want the window flashing and siding integration handled as one coordinated system rather than two separate trades working around each other, we're happy to take a look and give you a straightforward, no-pressure estimate.