 Sudden Valley
 Building in Columbia Means Building for Whatcom County Weather
If you're framing a new home in the Columbia area near Sudden Valley, the window package you choose during construction matters more than most builders let on. This part of Whatcom County sees long stretches of driving rain, salt-laden air moving in off the water, and a moss season that can stretch from fall through spring. New-construction windows go into open framing before siding, house wrap, and trim close everything up — which means this is the one point in the build where flashing, sealing, and window selection can be done exactly right, or done in a way that causes problems for the next twenty years.
We install new-construction windows specifically for this region's conditions, working directly with builders and homeowners in and around Columbia. This page covers what actually matters for a window install in this climate, what a correct job looks like, and how our process fits into a new build's timeline.
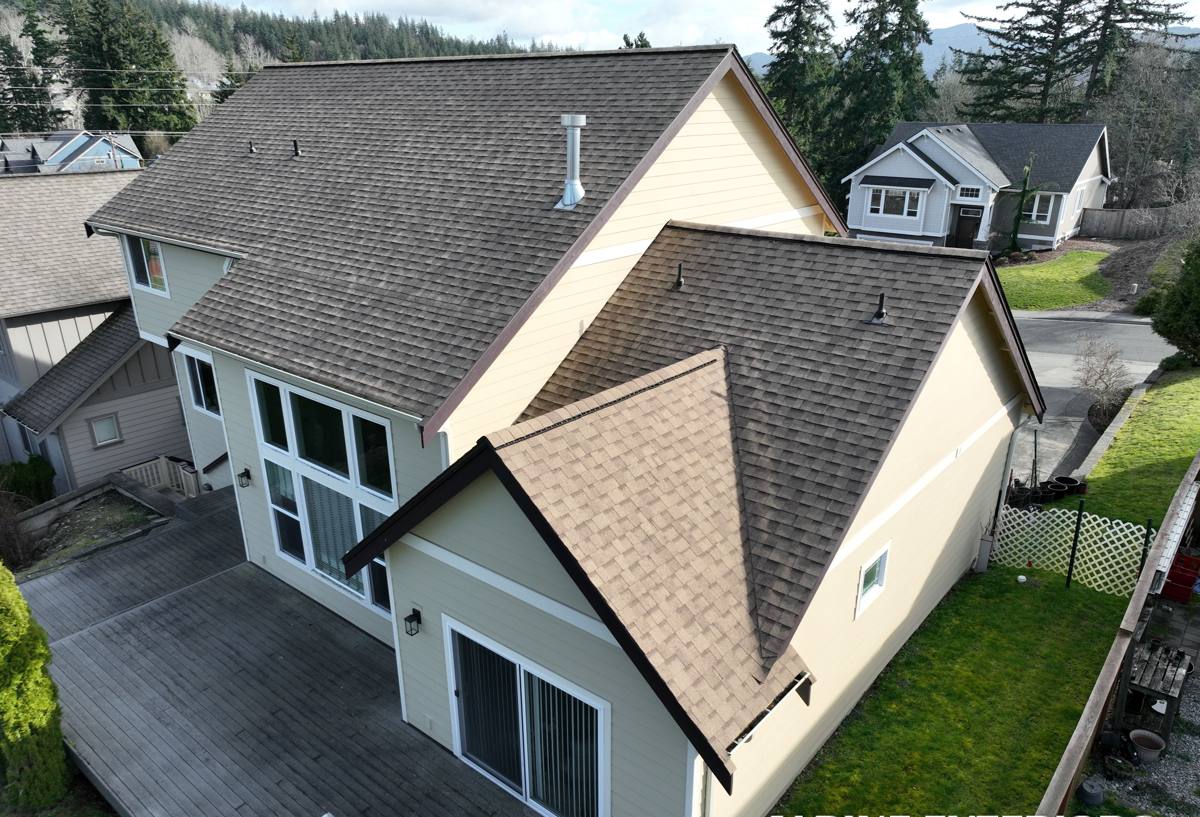
What Columbia's Climate Actually Does to a Window Installation
New-construction window failures rarely start with the window unit itself. They start with how it was flashed and sealed into the rough opening. In a climate like ours, a few local realities push that installation harder than it would be in a drier part of the country.
Driving Rain and Wind-Driven Moisture
Storms here don't just drop water straight down — wind pushes rain sideways into wall assemblies, especially on exposed elevations. A window opening that isn't flashed with proper shingle-lap technique (each layer overlapping the one below, so water is directed out and down, never trapped) will eventually let moisture behind the siding. In new construction, this is the easiest defect to prevent and one of the most expensive to fix later, since it means opening up finished walls.
Salt Air and Coastal Influence
Air moving inland off the water carries salt content that accelerates corrosion on unprotected fasteners, hardware, and some window frame materials over time. It's not dramatic damage in year one — it's a slow degradation that shows up as pitted hardware, sticking sashes, or premature finish wear years down the line. Material selection and fastener choice at install time make a real difference here.
Moss and Sustained Damp Conditions
A long moss season means extended periods where exterior surfaces near windows — sills, trim, and the siding-to-window transition — stay damp rather than drying out between rain events. Any installation detail that leaves a ledge, gap, or poor drainage path around a window becomes a spot where moss and organic growth take hold, which holds moisture against the building even longer. Proper sill pans and sloped sills are what break that cycle.
Why New-Construction Windows Are Different from Replacements
New-construction windows have a nailing fin and are installed into open stud framing before the exterior weather barrier and siding go on. This is a real advantage over retrofit or replacement work — there's no old window to remove, no compromised opening to work around, and full access to install flashing correctly in the right sequence. But it also means there's no room for shortcuts, because everything gets covered up by siding shortly after. If the flashing sequence is wrong, nobody sees it until there's a leak.
What the Correct Sequence Looks Like
- Rough opening checked for square, level, and correct sizing before the window ever goes in
- Sill pan flashing installed first, with back-dam and slight outward slope so any water that gets in drains back out
- Window set, shimmed level and plumb, and fastened per the manufacturer's structural requirements — not just "close enough"
- Side and head flashing applied in proper shingle-lap order, integrated with the house wrap so water sheds outward at every layer
- Nailing fin fully sealed with compatible flashing tape or sealant — no gaps, no bridging that traps moisture
- Interior air seal installed separately from the exterior weather seal, so the assembly manages both air leakage and bulk water correctly
Skipping or rushing any one of these steps is how a brand-new window ends up with a rot problem five years later, even though the window itself is fine.
Choosing the Right Window for a Columbia New Build
Frame material, glass package, and hardware all affect how a window holds up here. We walk builders and homeowners through these choices rather than defaulting to whatever's cheapest to stock.
| Factor | What to Consider in This Climate |
|---|---|
| Frame Material | Vinyl and fiberglass both resist moisture well and don't require repainting; wood offers a traditional look but needs consistent maintenance to hold up against sustained damp conditions |
| Glass Package | Double-pane with low-E coating and argon fill is the practical baseline here for energy performance and condensation control given our cool, wet winters |
| Hardware and Fasteners | Corrosion-resistant hardware matters more near the water, where salt-influenced air accelerates wear on unprotected metal |
| Sill Design | Sloped sills with integrated drainage shed water faster and resist the moss and algae buildup that comes with our long damp season |
| Cladding/Finish | Factory-finished exterior cladding on vinyl or fiberglass reduces future maintenance compared to field-painted wood trim exposed to constant rain cycles |
None of these choices are about chasing the most expensive option — they're about matching the product to what actually holds up under our rain and moss patterns instead of what performs fine in a drier climate.
Our New-Construction Window Process
We work as part of the build sequence, not as an afterthought once framing is already behind schedule. Here's how a typical new-construction window install with us goes.
1. Plan Review and Coordination
Before we're on site, we review the window schedule against the plans and coordinate timing with the builder or general contractor so windows go in at the right point — after framing and house wrap prep, before siding starts.
2. Rough Opening Verification
Every opening gets checked for square, plumb, and correct dimensions. Catching a framing issue before the window is set saves everyone time compared to finding it after.
3. Flashing and Sill Pan Installation
This is where the real weatherproofing work happens — sill pans, back-dams, and the shingle-lap flashing sequence described above, done to manufacturer specification and integrated with the house wrap system the builder is using.
4. Window Setting and Fastening
Windows are shimmed, leveled, and fastened per manufacturer structural requirements, then checked for smooth operation before we move to sealing.
5. Final Air and Water Seal
Interior air sealing and exterior weather sealing are treated as two separate systems, each done correctly, so the finished assembly performs the way it's designed to once siding closes everything in.
6. Walkthrough and Documentation
We walk the openings with the builder or homeowner before siding covers the work, so everyone can see the flashing and sealing detail while it's still visible.
Why It Matters to Hire a Crew That Already Works Columbia
A window installer who works regularly around Sudden Valley and the broader Whatcom County area has already seen what this climate does to a bad install — and what a correct one looks like five or ten years out. That's different from general installation experience in a milder or drier region. Local crews know which elevations take the worst wind-driven rain, how moss builds up around poorly detailed sills, and where salt-influenced air corrosion tends to show up first on hardware. That knowledge shapes decisions on-site that a generic install checklist won't catch.
It also matters for scheduling. New construction runs on a sequence — framing, windows, wrap, siding — and a crew that's used to coordinating with local builders and understands the pace of building here fits into that sequence without becoming the bottleneck.
Common Mistakes We See in New-Construction Window Installs
Most of the problems we get called to fix on other builders' work trace back to the same handful of shortcuts:
- Flashing installed out of shingle-lap order, so water gets funneled behind the wall instead of out of it
- No sill pan, or a flat sill pan with no back-dam, leaving nowhere for incidental water to drain
- Fasteners that don't match the exposure — leading to early corrosion and staining near the window frame
- Gaps between the window flange and flashing tape that get missed because they're not visible once siding goes on
- Interior and exterior sealing treated as one step instead of two separate systems, which causes either air leakage or trapped moisture
Every one of these is preventable with correct sequencing and materials — which is exactly why it's worth getting the install right the first time rather than discovering the problem after the siding is up.
What a Correct Installation Protects You From
A properly installed new-construction window in this climate isn't just about avoiding leaks. It affects energy performance through the cold, wet months, how much maintenance the home needs over time, and whether moss and moisture-related wear show up early around the openings. Getting it right during framing, while everything is still open and accessible, is far less disruptive and far less costly than correcting it after the home is finished and occupied.
If you're planning a new build or coordinating a window package in the Columbia area, we're happy to walk through your plans, talk through material options, and give you a straightforward, no-pressure estimate for the work — just reach out through the form below.